
Transforming Pictures into Stunning Fiber 3D Murals

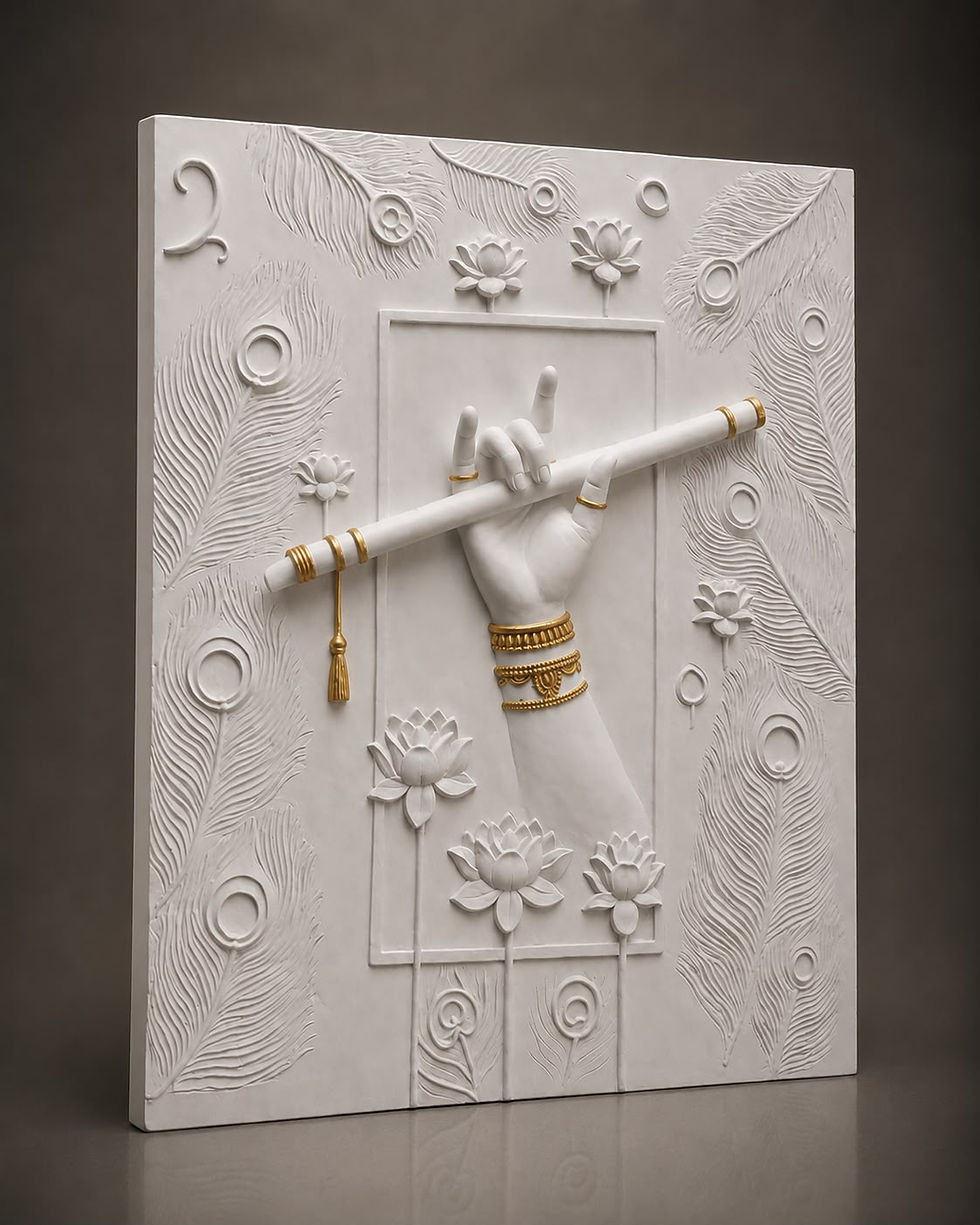
Turning a simple picture into a fiber 3D mural brings a new dimension to wall art. This technique adds texture, depth, and a tactile quality that traditional murals lack. For those looking to personalize their space or create a unique statement piece, fiber 3D murals offer an exciting option. This post explores how to transform pictures into these captivating artworks, the process involved, and practical tips for achieving the best results.

What Is a Fiber 3D Mural?
A fiber 3D mural is a wall decoration made by layering fibers to create a three-dimensional effect. Unlike flat paintings or printed murals, these artworks have physical depth that you can see and feel. The fibers can be natural or synthetic, arranged in patterns that follow the original picture’s design. This approach turns a two-dimensional image into a sculptural piece that interacts with light and shadow.
How Pictures Become Fiber 3D Murals
The transformation starts with selecting a picture that has strong shapes and contrasts. Images with clear outlines and distinct color areas work best because they translate well into layers of fiber. Here’s a step-by-step overview of the process:
Image Analysis
The picture is analyzed to identify key shapes, colors, and textures. This helps in planning how to break down the image into layers.
Layer Design
Each element of the picture is assigned a fiber layer. For example, in a landscape photo, the sky, trees, and ground might become separate layers.
Material Selection
Different fibers are chosen based on color, thickness, and texture. Wool, cotton, and synthetic fibers are common choices.
Cutting and Shaping
Fibers are cut and shaped according to the layer design. This step requires precision to maintain the picture’s details.
Assembly
Layers are stacked and fixed onto a base, creating the 3D effect. The depth of each layer varies to enhance the sense of dimension.
Choosing the Right Picture
Not every picture suits fiber 3D mural transformation. Here are some tips for selecting the best images:
High Contrast
Images with clear light and dark areas help define the layers.
Simple Composition
Pictures with too many small details can become cluttered when translated into fiber.
Strong Shapes
Bold shapes and outlines make the 3D effect more striking.
Color Blocks
Areas of solid color are easier to replicate with fiber layers.
For example, a close-up photo of a flower with distinct petals or a landscape with defined horizons works well.
Practical Tips for Creating Fiber 3D Murals
Creating a fiber 3D mural requires patience and attention to detail. Here are some practical tips to guide the process:
Start Small
If you’re new to this art form, begin with a small mural to practice layering and shaping fibers.
Use Quality Fibers
High-quality fibers hold their shape better and provide richer colors.
Plan Your Layers
Sketch the layers before cutting fibers to avoid mistakes.
Work in Sections
Assemble the mural in sections to maintain control over the design.
Consider Lighting
Proper lighting enhances the 3D effect by casting shadows and highlighting textures.
Applications of Fiber 3D Murals
Fiber 3D murals are versatile and can be used in various settings:
Home Decor
Add warmth and texture to living rooms, bedrooms, or hallways.
Public Spaces
Create engaging art installations in galleries, hotels, or restaurants.
Commercial Interiors
Use murals to add character to retail stores or offices.
Custom Gifts
Personalized murals from family photos or artwork make unique presents.


Comments